
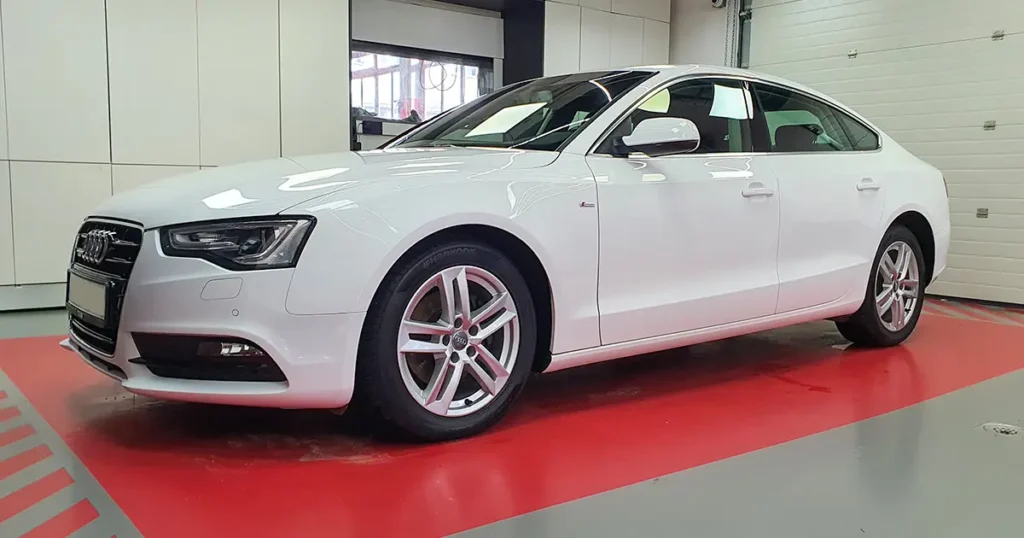

Most car owners believe they are doing their vehicle a favor by grabbing a sponge and a bucket of dish soap on a Saturday afternoon. However, the reality is that washing incorrectly causes more damage than the dirt itself. In the professional detailing world, we often see cars that are “clean” but covered in a spider-web pattern of fine scratches known as swirl marks. These are not inevitable signs of age; they are the direct result of poor technique. Detailing has evolved from a niche hobby into a global industry because people are realizing that a properly maintained car looks better, feels better, and holds significantly higher resale value.
The goal of a professional-level hand wash car at home is not just to remove mud or bird droppings, but to do so without moving abrasive particles across the delicate top layer of your paint—the clear coat. If you want to maintain a factory-fresh finish and avoid the “matte” look that comes from thousands of tiny scratches, you need a system. This guide will walk you through the professional workflow used to wash thousands of cars without ever leaving a mark.
Why Regular Car Washes Scratch Your Paint
To understand how to wash a car without scratching, you first need to understand what car paint actually is. Modern cars have a “sandwich” of layers: the metal panel, a primer, the actual color coat, and finally, a transparent layer called the clear coat. This fourth layer is designed to be UV resistant and tough, but it is also the layer where all the damage happens.
A scratch is essentially a groove in this clear coat created when an abrasive particle—like a grain of sand or road grit—is pressed against the surface and moved. When you use a traditional sponge or a dirty rag, you are essentially trapped those particles against the paint and sanding them into the finish. Automatic “tunnel” car washes are even worse; those heavy brushes are rarely cleaned between vehicles, meaning they are slapping the dirt from the previous ten SUVs directly onto your hood at high speeds. This creates “holograms” and deep swirls that can eventually require expensive multi-step paint correction to fix.
What You Need Before You Start
Professional results require professional tools. If you are serious about car washing tips, throw away the old kitchen sponge and the dish soap (which strips away protective waxes) and gather these essentials:
- Two Large Buckets: You need two separate containers—one for your soap solution and one for clean rinse water.
- Grit Guards: These are plastic inserts that sit at the bottom of your buckets to trap dirt particles at the base, preventing them from being picked back up by your mitt.
- High-Quality Wash Mitt: Use a microfiber or lamb’s wool mitt. These are designed to “lift” dirt into the fibers and away from the paint, unlike sponges that just push dirt around.
- Dedicated Car Shampoo: Look for a pH-neutral shampoo with high lubrication. The lubrication is what allows the mitt to glide over the surface without creating friction-based scratches.
- Pressure Washer or Hose with Nozzle: A pressure washer is ideal for removing heavy debris before you even touch the paint.
- Microfiber Drying Towels: Specifically designed “twist-loop” or high-GSM towels that can absorb vast amounts of water without scratching.
- Wheel Brushes and Dedicated Mitts: One long-handled brush for the inner barrels and a soft round brush for the face of the rims.
DO: Use a dedicated mitt for wheels only. Wheels are covered in brake dust (shards of metal and carbon), and you never want those particles touching your paint. DON’T: Use the same bucket of water for the wheels and the body of the car.
The Two Bucket Method Explained
The two bucket wash method is the gold standard for safe washing. It is a simple but effective system designed to ensure that the mitt touching your car is always clean.
- The Setup: Fill Bucket A with water and the recommended amount of car shampoo. Use your pressure washer to create a thick foam. Fill Bucket B with only clean water. Place a grit guard in both.
- The Initial Dip: Dunk your wash mitt into Bucket A (the soap) and pick up plenty of suds.
- The Wash: Starting at the top of a panel, move the mitt in linear motions (left-right or up-down). Avoid circular motions, as these create more visible, multidirectional scratches that are harder to polish out.
- The Rinse: After cleaning about 1/4 of a large panel (like the roof), your mitt is now “dirty.” Dip it into Bucket B (the clean water) and agitate it against the grit guard to release the trapped dirt.
- Re-Soap: Now that the mitt is clean, dip it back into Bucket A to get fresh suds and move to the next section.
By following this loop, the dirt you remove from the car stays in the rinse bucket, and your soap bucket remains uncontaminated for the entire wash.
The Correct Washing Order
A professional detailer follows a specific sequence to prevent cross-contamination and ensure efficiency.
1. Wheels and Rims First
Always start with the wheels. Wheels are the dirtiest part of the car, and they often require stronger chemicals like iron removers to dissolve baked-on brake dust. If you wash the body first and then the wheels, the grime from the rims will splash back onto your clean paint.
- Pro Tip: Wait for the wheels to cool down before spraying chemicals to prevent them from drying and staining the finish.
2. The Pre-Wash (Contactless)
Before you touch the car with a mitt, use a pressure washer to remove loose mud and grit. If the car is very dirty, apply a pre-wash foam and let it sit for a few minutes to dissolve the top layer of grime. This “lubricated” rinse removes the largest abrasive particles that would otherwise cause scratches during the hand wash.
3. Top to Bottom
When you start the hand wash, always work top to bottom. The lower portions of the car (rocker panels and bumpers) collect the heaviest, most abrasive road salt and tar. By starting at the roof, you ensure that you aren’t dragging that heavy lower-body grit up across the rest of the car.
DO: Frequently flip your wash mitt to a clean side during the process. DON’T: Press down hard. Let the chemicals do the work of lifting the dirt.
Drying Without Scratching
Drying is the stage where many beginners fail. Using an old beach towel or a leather chamois can actually create scratches because they don’t have anywhere to “store” any remaining dust.
- Linear Drying: Use a clean, dry microfiber towel. Lay it flat across the wet panel and gently pull it toward you in a straight line.
- Work Top to Bottom: Just like the wash, dry from the roof down to prevent water from running back over sections you’ve already finished.
- Lubricated Drying (Optional): Many pros use a “drying aid” or a quick detailer spray. This adds a layer of lubrication between the towel and the paint, further reducing the risk of friction-based damage.
When to Do a Full Decontamination Wash Instead
Sometimes, a standard wash isn’t enough. If you run your hand across the “clean” paint and it feels rough like sandpaper, you have embedded contamination. This is usually a mix of industrial fallout, tree sap, and tar that has bonded to the clear coat.
In these cases, you need a decontamination wash. This involves:
- Chemical Decon: Using an iron remover on the paint (which turns purple as it dissolves metal particles) and a tar remover for black spots.
- Mechanical Decon: Using a clay bar with a dedicated lubricant to physically pull the remaining contaminants out of the pores of the paint.
Warning: Only perform mechanical decontamination (claying) if you plan on applying a wax or sealant afterward, as the clay bar will strip away any existing protection.
Conclusion
Learning how to wash a car without scratching is the single most important skill you can have as a car owner. By using the two bucket wash method, working in linear motions, and respecting the top-to-bottom workflow, you are no longer just “cleaning” your car—you are preserving its history and value. It takes a little more time and a few better tools, but the result is a finish that remains deep, glossy, and swirl-free for years.
If you want to master the art of exterior care—including the secrets to high-end polishing, ceramic coatings, and paint restoration—check out our Exterior Detailing Course on Udemy. We go beyond the basics to show you how the world’s best detailers achieve a “show car” finish every single time. Happy washing!