
Quick answer
A two-bucket wash system reduces the chances of creating swirls. It is the method to use on a car with dark, nearly swirl-free paint that you want to keep that way. Here is how it works and how to do it right.
The Mechanism
Swirl marks come from abrasion. With sufficient lubrication, cleaning a surface is safe. Without it, two surfaces in contact start grinding against each other, and that is where scratches and swirl marks come from, even from tools and towels that are perfectly clean.
A two-bucket system uses two separate buckets: one for the water-and-shampoo mix, and one with clean water for rinsing your mitt. Both have a grit guard at the bottom to filter dirt out of the water.
Doing It Properly
1. Remove as much dirt as possible before any physical contact.
Start with a pressure wash, paying attention to the areas that collect the most dirt: panel gaps, door handles, emblems and grilles. Keep the nozzle at least 20 cm (about 8 inches) away from the surface. Then apply a contactless foam, let it sit for a few minutes to soften the top layer of dirt, and rinse the car again with the pressure washer. If the car hasn't been washed in a while, an optional step is to go over the same problem areas with an all-purpose cleaner and a soft bristle brush, then rinse again. Wait for the car to cool off first, and remove the license plates and license plate holders.
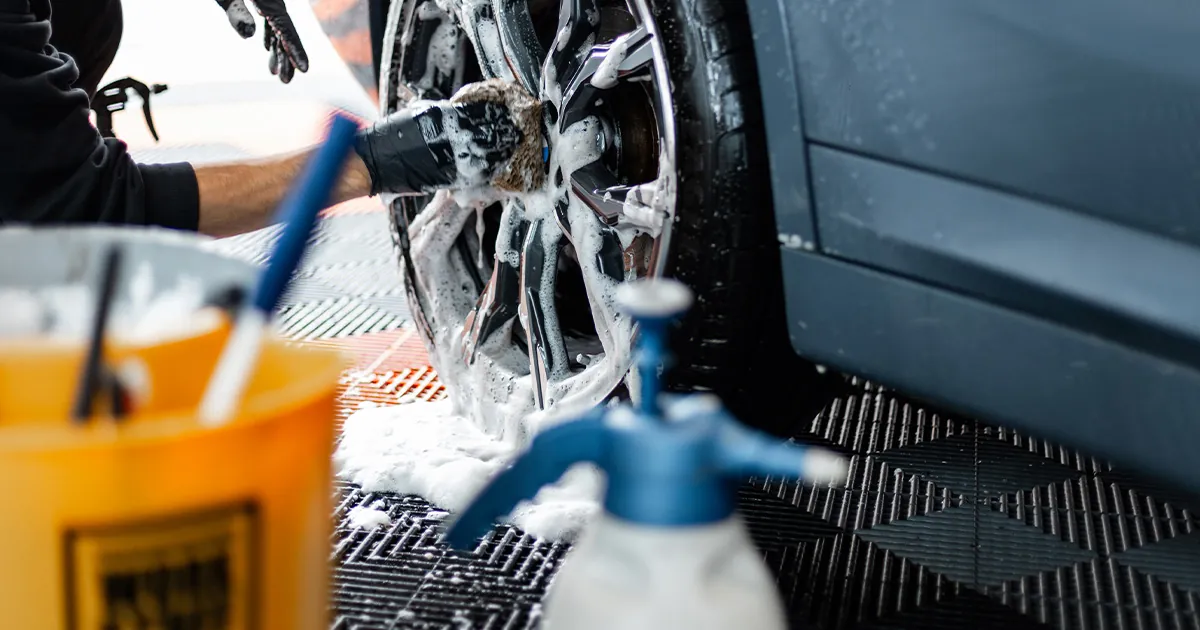
2. Clean the wheels as their own job, with their own tools.
Wheels and rims are covered first, before the bodywork, with a wheel wash mitt, a barrel brush, a long bristle brush and a bucket of water with a dirt trap.
3. Set up the two buckets.
Fill both buckets with around 10 liters (about 2.6 gallons) of water. In one, add around 50 ml (about 1.7 fluid ounces) of car wash shampoo and mix it with the pressure washer. Both buckets get a grit guard at the bottom.
4. Wash top to bottom, starting with the roof.
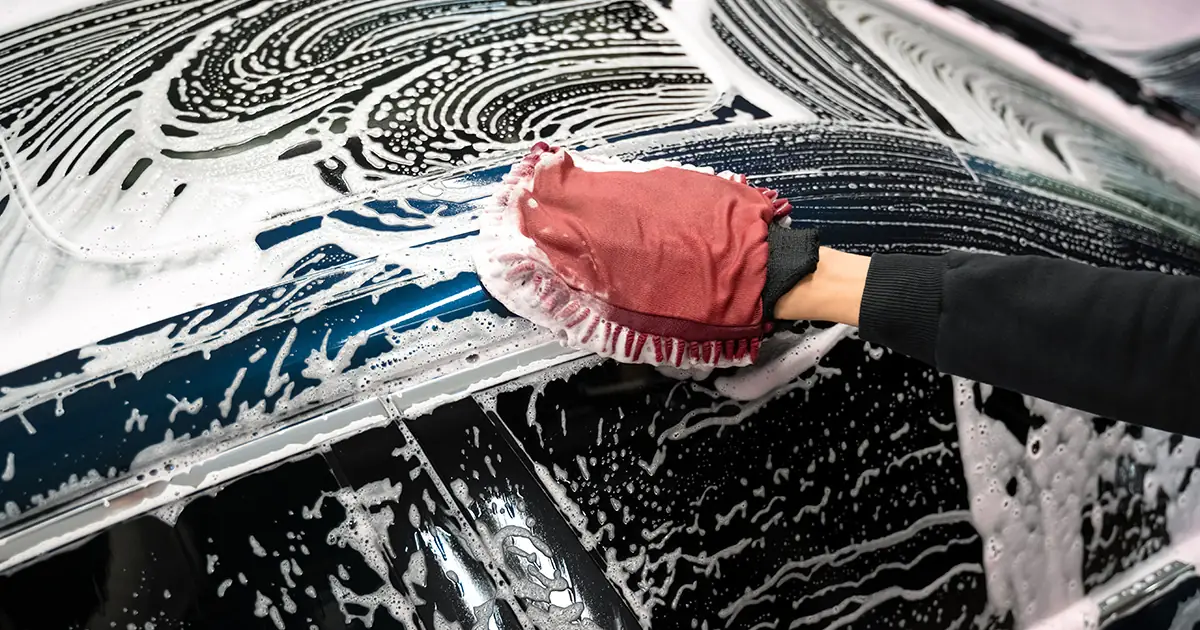
Dirt on the roof tends to be the least abrasive. Move the mitt left and right, covering about a quarter of the roof before flipping the mitt to a clean side and covering the next quarter.
5. Rinse the mitt, then go back to the shampoo.
Once half the roof is done, dip the mitt into the clean rinse bucket, shake it a little to release the dirt, squeeze it out, then dip it back into the shampoo bucket before continuing. Repeat this pattern for every panel: shampoo, wash a section, rinse the mitt, shampoo again. Always work top to bottom.
6. Save the lowest, dirtiest parts for last.
Consider using an older microfiber towel instead of your good wash mitt for those sections.
7. Rinse and dry.
Rinse off the soap and dirt with the pressure washer. Dry the car top to bottom with a towel, and use a microfiber towel for specific areas and the rims.
The Mistakes That Cancel the Benefit
Washing in direct sunlight or on a hot panel. Don't work in direct sunlight, and avoid surfaces that are extremely hot or cold.
Circles. Keep your hand motion linear, left-right or up-down, never circular.
One mitt for the whole car. The lowest, dirtiest parts of the car are where you switch to an older microfiber towel.
Skipping the pre-wash. Before any physical contact, you want to remove as much dirt as possible.
When You Can Skip It
How thorough a wash needs to be depends on what comes next in the job. If the wash is a step before polishing, or the car is already covered in swirls, you can skip a few precautions. There is no need for the two-bucket system before polishing, because any light swirls a single bucket creates are microscopic and won't affect the quality of the work. On a car that is already swirled, you're not creating a problem that wasn't already there. The same goes for foam: only use it if the car is extremely dirty. If you are moving straight into decontamination as prep for polishing, leave the car wet.
Want the full exterior workflow?
My Exterior Car Detailing Course covers washing, decontamination and protection step by step. It has 11 lessons and a quiz on Udemy.