
Quick answer
There are two types of car polishing: one-step and multi-step paint correction. The difference is essentially how many times a car gets polished during the process. One-step correction is done to remove light swirls and light scratches. Multi-step correction is done to remove deeper scratches that a single pass can't fully address.
What Polishing Does
Polishing is the process of removing the damaged part of the clear coat, or the paint itself in some cases. It thins the clear coat down until it reaches a point with no remaining damage. The clear coat is the only layer you can work on, as long as it hasn't been fully penetrated. Some very deep-looking scratches can be polished out entirely, while others can only be refined to the point of being much less visible.
One-Step Correction
The purpose of one-step correction is to add shine and remove light swirls and shallow scratches. It is done with a DA machine to achieve high gloss without holograms, typically using medium or light pads with medium, light or super finish compounds.
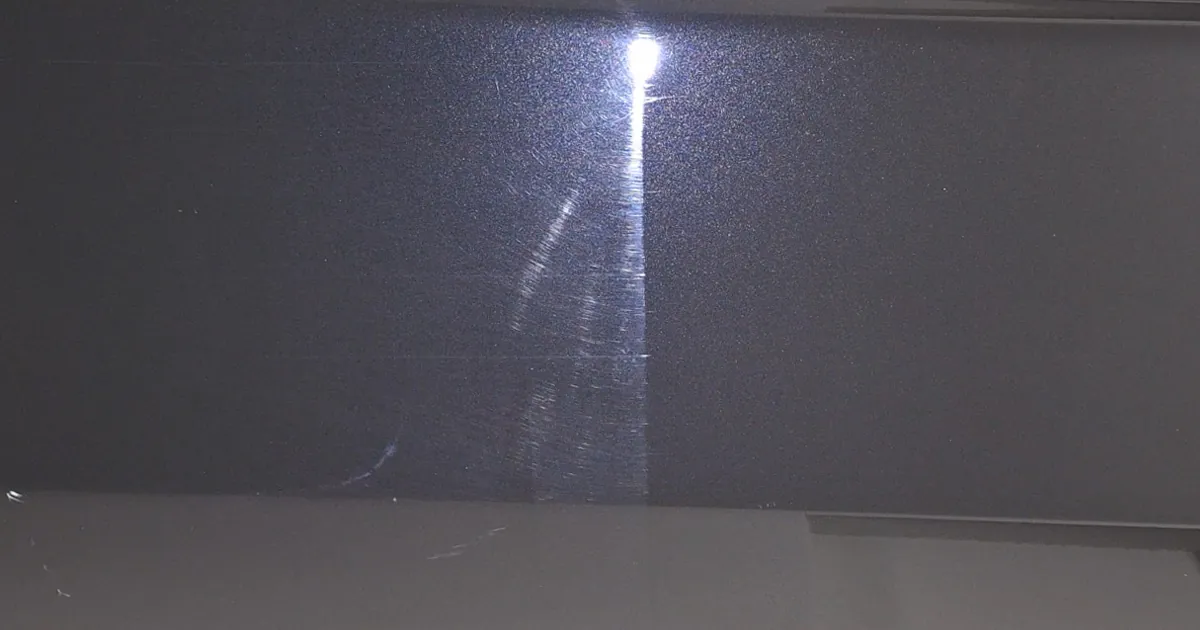
Light-colored cars, such as white or light gray, benefit the most from a one-step correction, since swirls and scratches are much less visible on those colors to begin with. Darker colors like blue or black will also gain noticeable shine, but up close you will usually still see faint scratch lines in the clear coat even after a one-step pass.
Multi-Step Correction
The goal of multi-step polishing is to remove, or at least significantly reduce the visibility of, scratches and swirls that a single pass can't fully address, without removing more clear coat than necessary.
The process runs in stages:
- The first stage polishes the entire car with the most abrasive step, aimed at removing the deeper scratches. Sometimes this step needs to be repeated. Then you wipe the compound off and inspect the panels with a lamp. The overall shine will look hazy at this point, but look for actual deep lines still visible in the clear coat.
- Each following stage moves toward a lighter combination, depending on the clear coat's hardness, to refine the surface and remove the haziness left from the first stage.
- The next-to-last stage combines a light pad, a DA polisher and a light compound. It refines the clear coat further and removes any holograms left from the rotary stage.
- The final pass also uses a DA machine, paired with a light pad and a super finish compound, and gives the clear coat its final, high-gloss shine.
Here is an example on a hard clear coat: a rotary with a wool pad and a cutting compound removes the deep scratches but leaves the clear coat rough. A DA with a cutting foam pad and a medium-cut compound refines it. A DA with a light foam pad and a super finish compound then delivers high shine with no holograms.
How to Tell Which You Need
Look at the panels with an inspection lamp. If what you see is light swirls and shallow scratches, one-step correction is the tool. If you see deeper scratches that a single pass can't address, you are looking at multi-step.
The answer comes down to picking the safest combination that still gets the job done. Factor in the clear coat's thickness and hardness and the right combination of pads, compounds and machines. Always test the surface before committing to a full approach: run a test section first and look honestly at the outcome. If the car came in heavily scratched, it doesn't make sense to chase every single line. Removing enough clear coat to eliminate every last mark isn't worth the risk to the paint.
The Clear Coat Question
The average total thickness of all the layers on a factory-painted car is around 130 to 180 microns, and the clear coat makes up roughly 60% of that. This is a rough estimate, since factory panels vary from manufacturer to manufacturer.
Keep in mind that most cars have a long lifespan ahead of them, and one overly aggressive polish can remove a large amount of clear coat. It makes little sense to strip 80% of the clear coat chasing every last scratch, when the car will keep accumulating new ones over years of driving and will need to be polished again down the line regardless. The goal is a compromise: remove as much as reasonably possible without cutting away more clear coat than the job actually calls for.
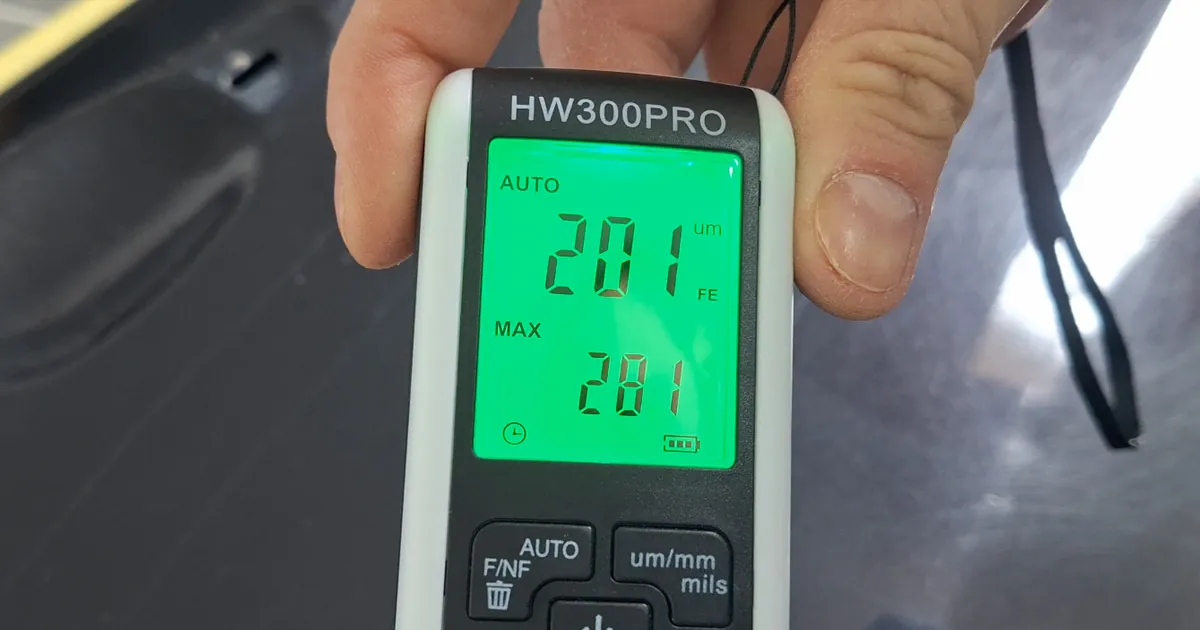
A paint thickness gauge lets you inspect a car before you start polishing, and it gives you a sense of how much clear coat a given approach will actually remove. It is not an infallible safety net, but it is a genuinely useful tool.
After the Correction
Once the whole car is polished, remove the masking tape and give the car a final wash to clear out dust and any compound trapped in panel gaps. That is also the kind of clean surface the next step, protection, needs to bond properly. A two-bucket wash system reduces the chances of creating new swirls.
Want to learn to do this yourself?
My Car Polishing Course covers reading paint, choosing pads and compounds, test sections and finishing without holograms. It has 13 lessons and a quiz on Udemy.